FooEvents POS integrates directly with Square Terminal devices and supports manual card entries to capture in-person card payments.
Sections #
- Requirements
- Setup
- Create New Square Application
- Square Sandbox
- Square Terminal Integration
- Plugin Settings
- Pairing a Square Terminal
- Unpairing a Square Terminal
- Processing Payments at Checkout Using Square Terminal
- Manual Card Processing at Checkout
- Refunding an Order
Requirements
The following are required for the Square payment integration:
- FooEvents POS plugin activated and installed on your website
- Square account where the currency matches the currency of your WooCommerce store
- Square Terminal
- Note: Square hardware is currently available to customers in the US, Canada, Australia, Japan, the United Kingdom, Republic of Ireland, France and Spain, however, you do not need a reader for manual card entries.
Setup
In order for FooEvents POS and Square to be able to communicate with each other, you will need to create a new or update an existing Square application in your Square Developer Dashboard.
Create New Square Application
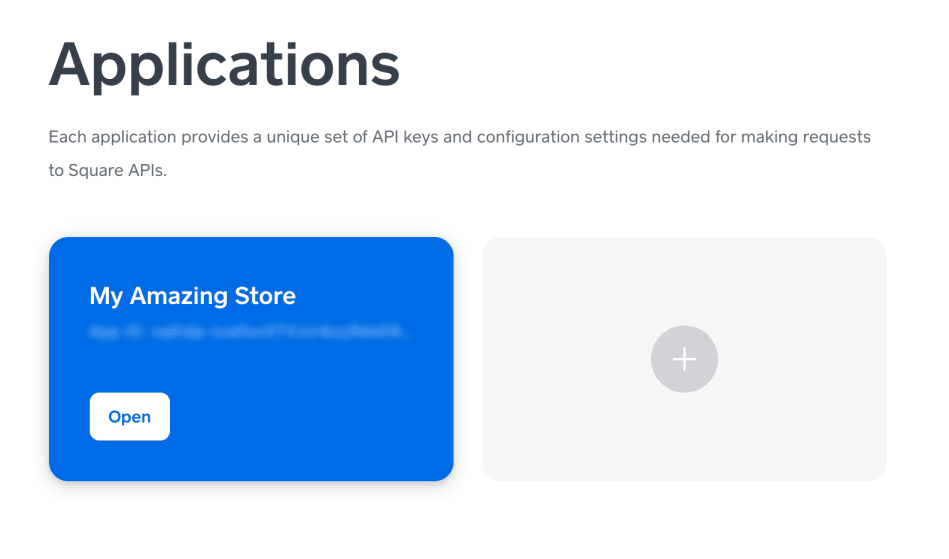
Open your Square Developer Dashboard and choose New Application, Create Your First Application if it is a new account OR Open a previously created application if one already exists in your account.
When creating a new application, you will need to enter a name for your application and agree to the Square Developer terms of service.
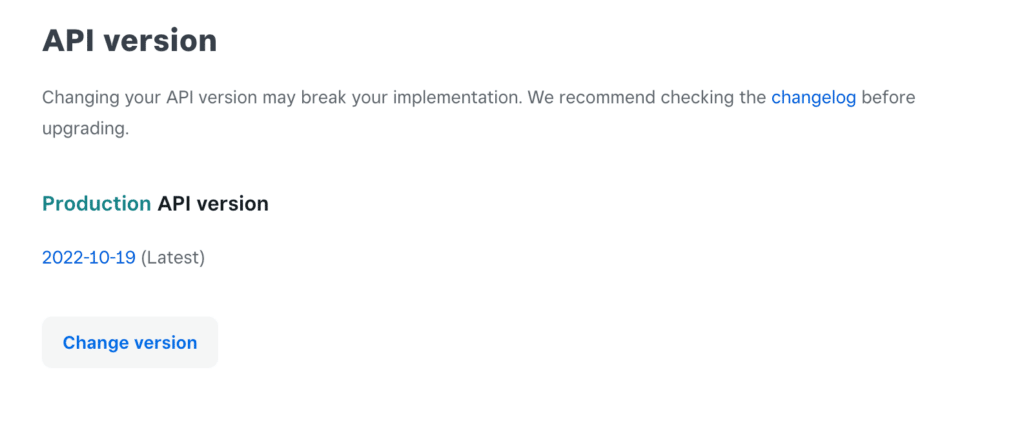
Next, open your newly created application or existing application. If you created a new application, it will automatically be set to use the latest version of the Square production API. If you are using an existing application, it is recommended that it be set to use the latest version of the Square production API for security and functionality purposes. You can make sure that your application’s production API version is set to the latest version by scrolling to the bottom of the Credentials page.
If you are using an existing application, already have an integration setup using an older version of the Square production API, and you are worried about breaking your current implementation by changing the API version, then to be safe, we suggest you rather create a new application for your FooEvents POS integration.
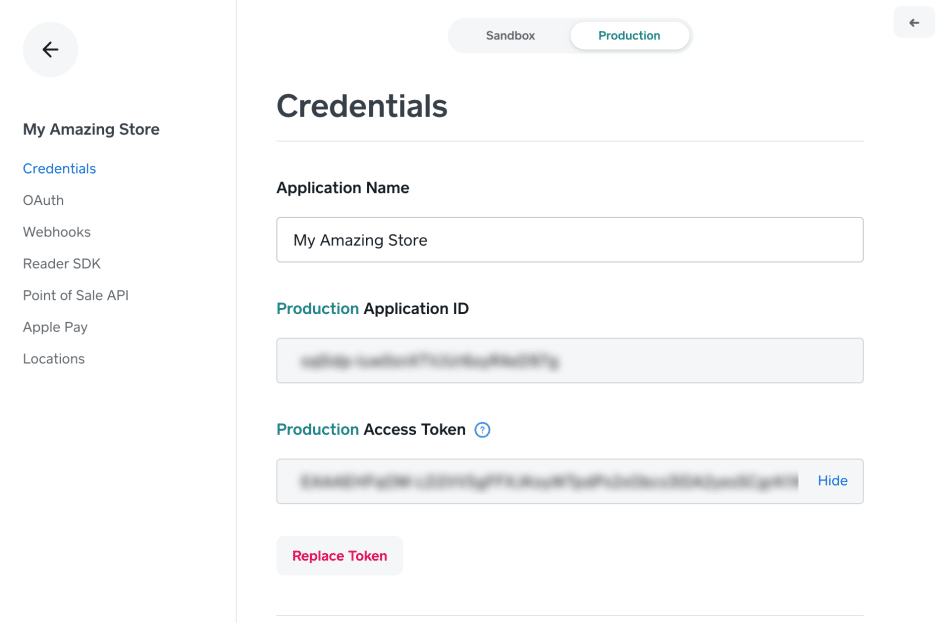
By clicking on the Production tab, you will see your unique Application ID and Access Token. You will need to enter these two keys in your FooEvents POS plugin settings.
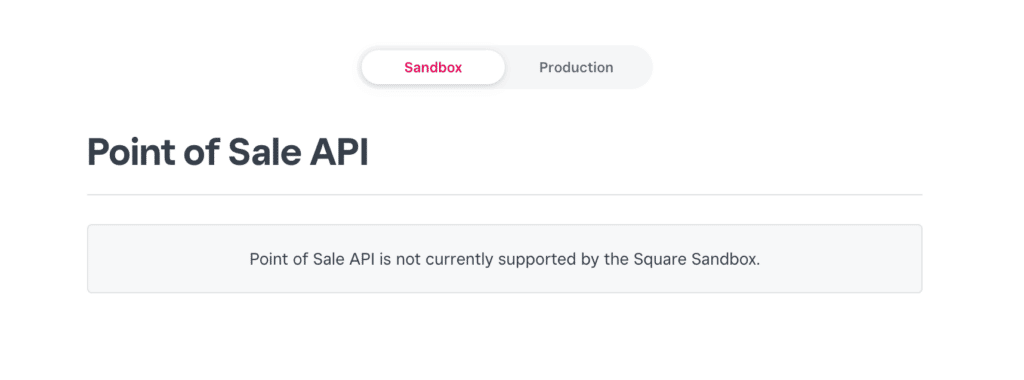
Next, select the Point of Sale API menu option and ensure that you still have the Production tab selected.
Square Sandbox
FooEvents POS makes use of the Square Point of Sale API in order to send payment requests to your Square account.
Please note: The Point of Sale API is not currently supported by the Square Sandbox environment. You can view the current status by selecting the Sandbox tab on the Point of Sale API page.
Square Terminal Integration
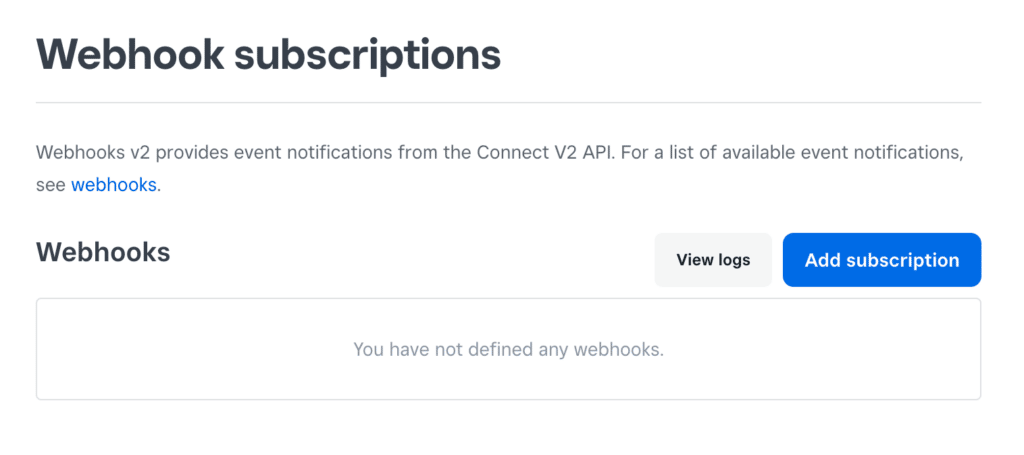
If you plan on integrating FooEvents POS with a Square Terminal, you will need to add the FooEvents POS webhook to your Square application. From the Production tab, click on the “Webhooks” menu item to expand its submenu. Select the “Subscriptions” submenu item to view the Webhook subscriptions section.
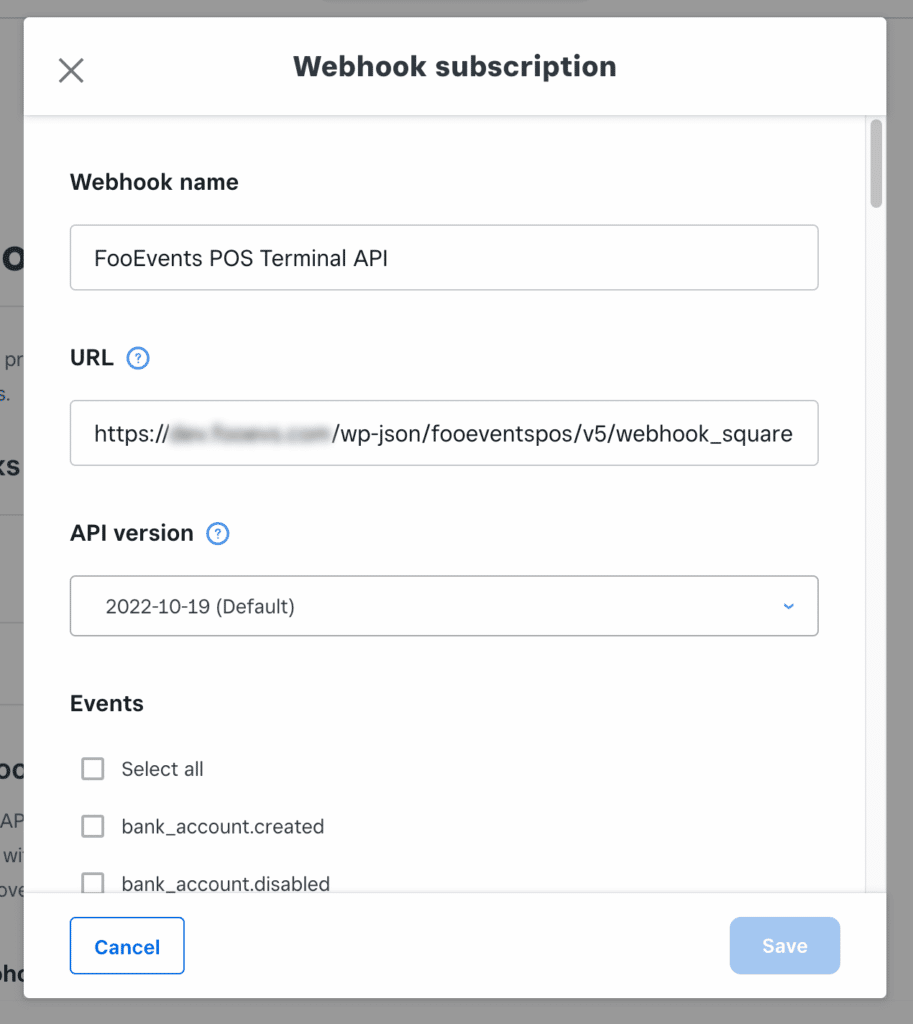
Click on the “Add subscription” button and enter a name for the webhook such as “FooEvents Terminal API“. Enter the webhook URL for your website e.g.:
[YOUR SITE]/wp-json/fooeventspos/v5/webhook_square
Next, you will need to let Square know which events it needs to send to FooEvents POS by checking each relevant event.
FooEvents POS needs to be notified about the following events:
- device.code.paired
- terminal.checkout.updated
- terminal.refund.updated
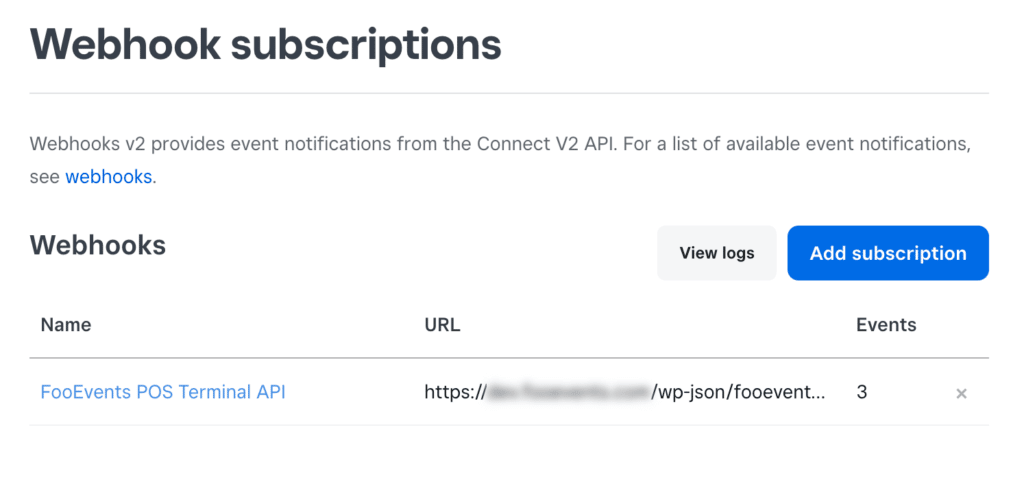
Once you click the “Save” button, you will see your newly added webhook subscription.
Plugin Settings
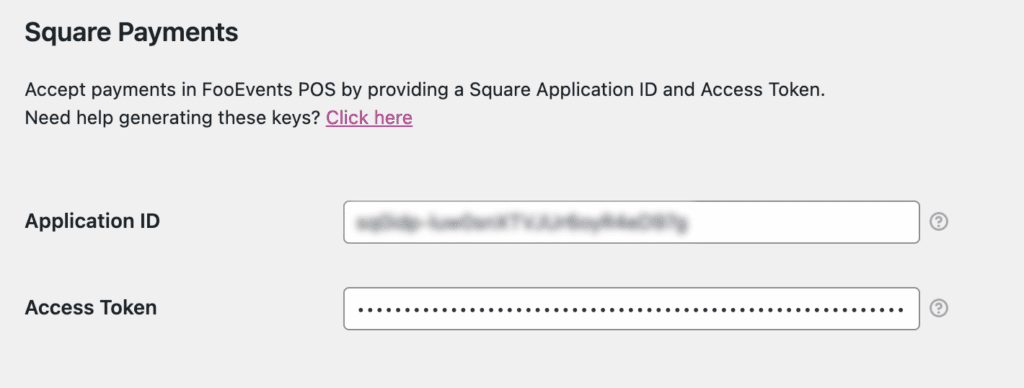
After copying your production Application ID and Access Token, navigate to your WordPress dashboard and open the plugin settings. Under Square Integration, paste your Application ID and Access Token, then save your settings and you’re good to go!
Pairing a Square Terminal
In order to process a payment at checkout using a Square Terminal, you will need to pair a Terminal device with FooEvents POS.
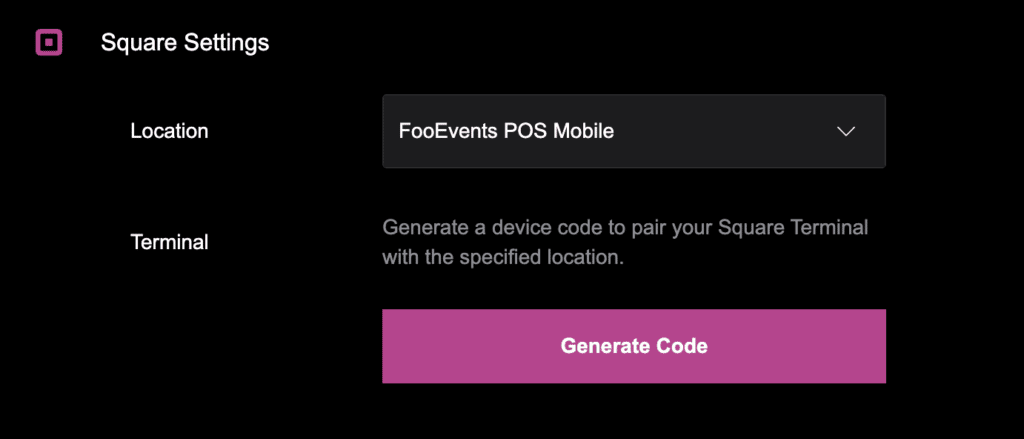
In order to pair a Terminal device with FooEvents POS, open the FooEvents POS Settings screen and scroll down to Square Settings. Here you can select which Square location should be associated with the device that FooEvents POS is running on. For instructions on how to setup more than one Square location, please read the Manage Multiple Locations with Square help documentation.
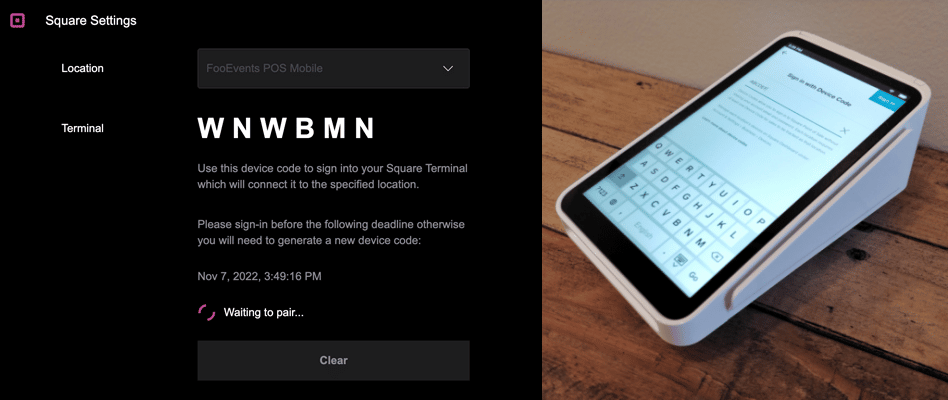
Next, you will need to sign into the Terminal using a device code that will be generated in FooEvents POS. Click on the “Generate Code” button to generate a new device code. Once the code has been generated, you will only have 5 minutes to sign into the Terminal before the device code expires, in which case, you will need to generate a new code and re-attempt the pairing process.
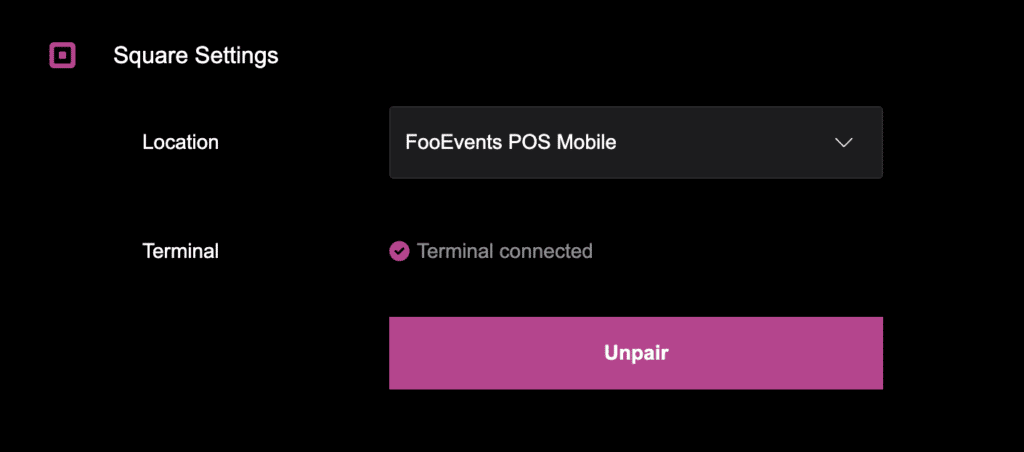
Once you enter the device code and the Terminal has loaded, the Square Settings in the FooEvents POS app will update to show that it has paired with the device successfully.
After successfully pairing a device, FooEvents POS will remember the unique device identifier when capturing payments until the device is specifically unpaired. This means that you can pair the same device to multiple FooEvents POS apps by following the instructions above.
In order to enter a new device code on the Square Terminal which was generated by a different FooEvents POS app, you must sign-out of the paired device while leaving the FooEvents POS app in its paired state. To sign-out of the paired Square Terminal, swipe on the device from the far left side of the screen to display the slide-out menu, tap Settings and then tap the Sign Out button which will return the device to the login screen. You can then choose to sign-in again using the new device code.
Unpairing a Square Terminal
If FooEvents POS is paired with a specific Square Terminal and you would like to pair it with a different device or change the Square location that FooEvents POS is associating with the paired device, you will first need to tap the Unpair button to unpair the device in order to choose a different location and generate a new device code. To sign-out of the paired Square Terminal, swipe on the device from the far left side of the screen to show the slide-out menu, tap Settings and then tap the Sign Out button which will return the device to the login screen. You can then sign-in again using a newly generated device code.
Processing Payments at Checkout Using Square Terminal
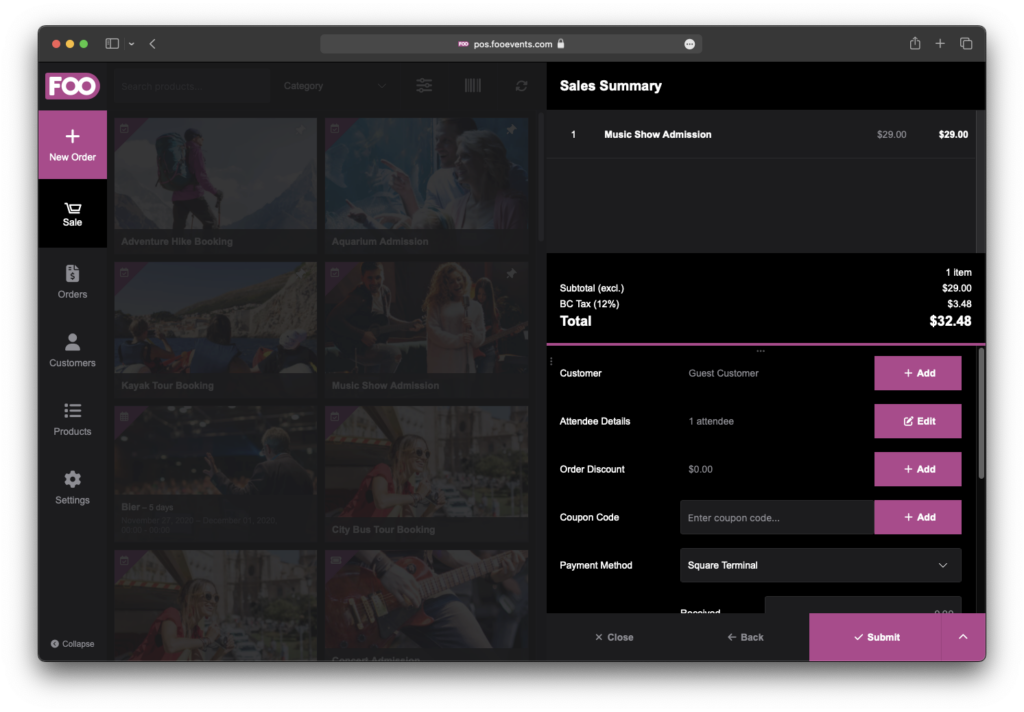
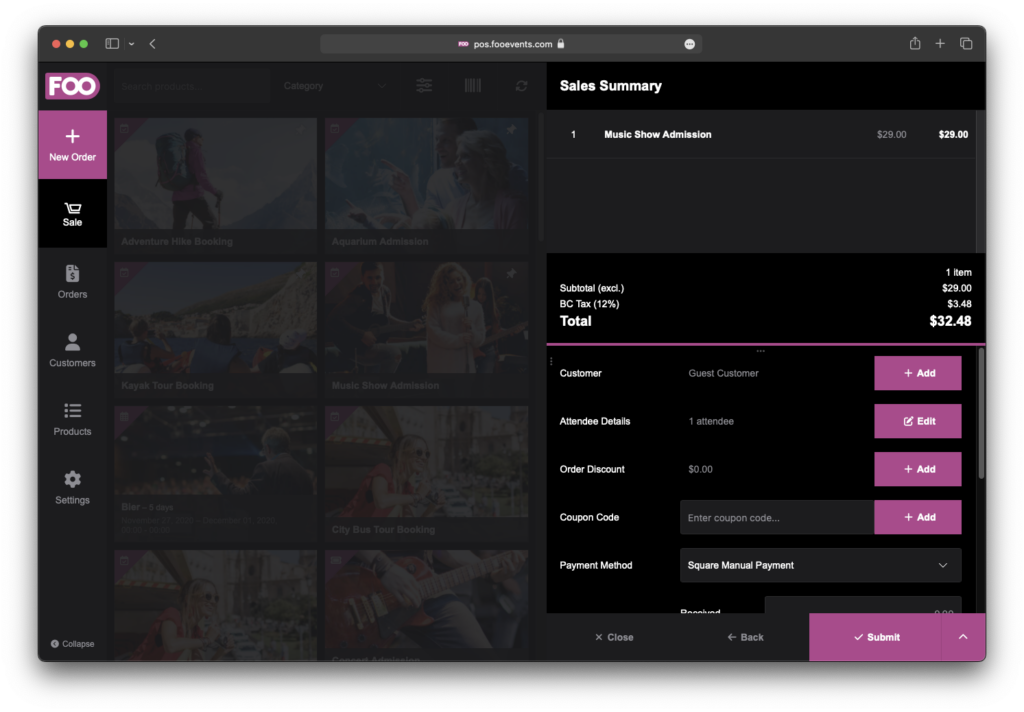
When you’re ready to complete an order on the Checkout screen in FooEvents POS using a paired Square Terminal, select Square Terminal Payment as the payment method.
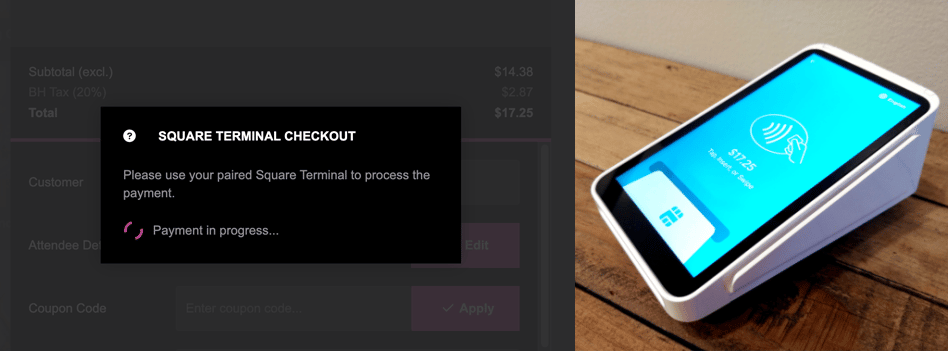
When you click the Pay button, a checkout request will be sent to your paired Square Terminal. Follow the prompts on the Square Terminal in order to process the payment. The FooEvents POS app will wait until the checkout is successfully completed.
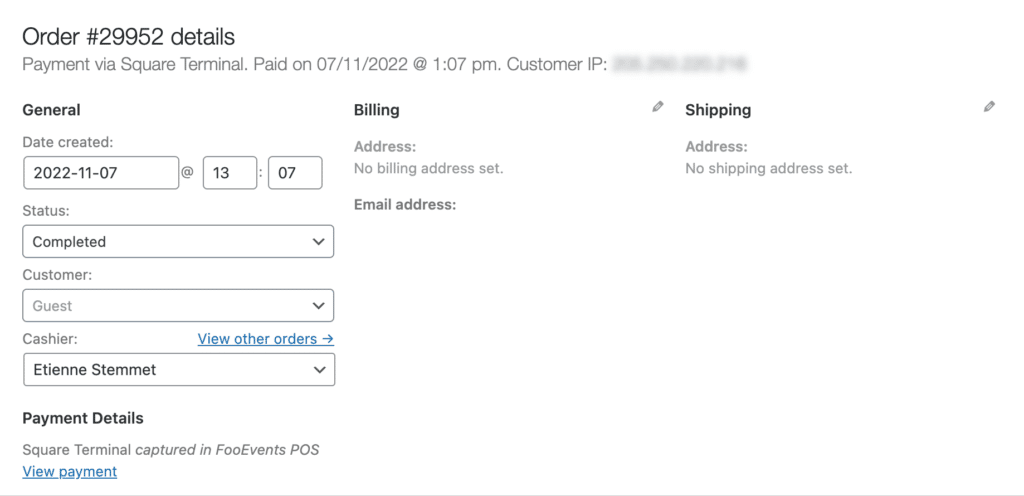
Once the payment has been successfully completed, the FooEvents POS app will submit the order to your WooCommerce database and the order will get submitted and marked as Completed in your WooCommerce store. The Square transaction will be linked to your WooCommerce order. If you open the completed order on the Orders screen, you will see the payment method highlighted if Square was used to process the payment. Clicking on this text will open the linked Square transaction in a browser window for your convenience.
If you navigate to the WooCommerce Order in your WordPress dashboard, you will see the payment method marked as Square along with a link to View the transaction in a new browser tab.
Manual Card Processing at Checkout
If you do not have a Square Terminal or in an emergency, you can still enter the customer’s card details manually at checkout in order to process an order payment. Select Square Manual Payment as the payment method.
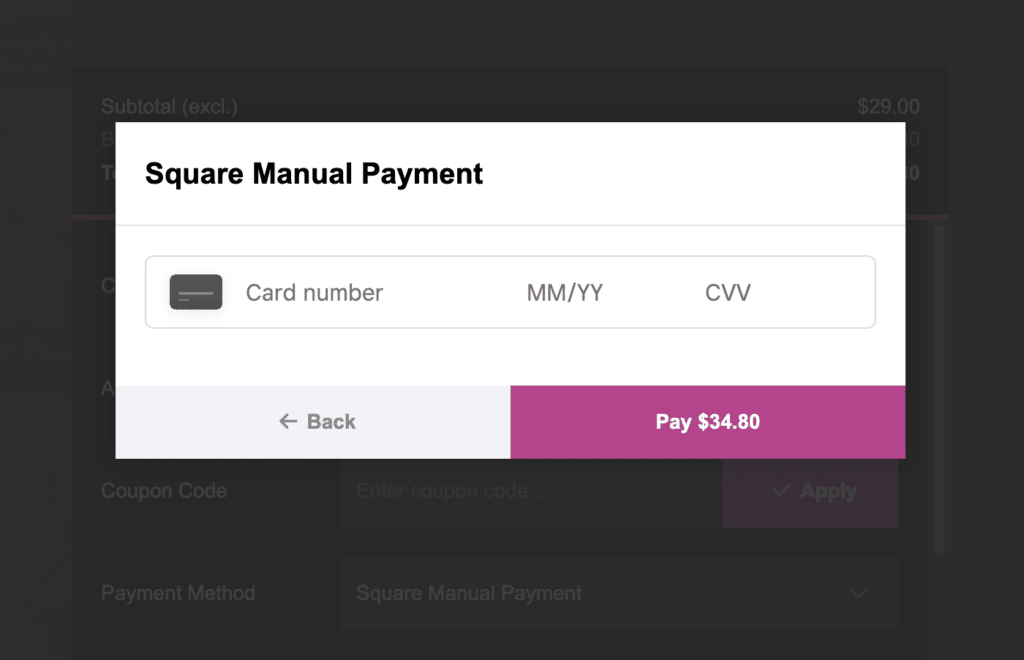
When you click the Pay button, a form will appear that allows you to enter the card number, expiry date and CVC in order to process the payment. Once the payment has been successfully submitted, the FooEvents POS app will complete the order and submit it to your WooCommerce store.
Refunding an Order
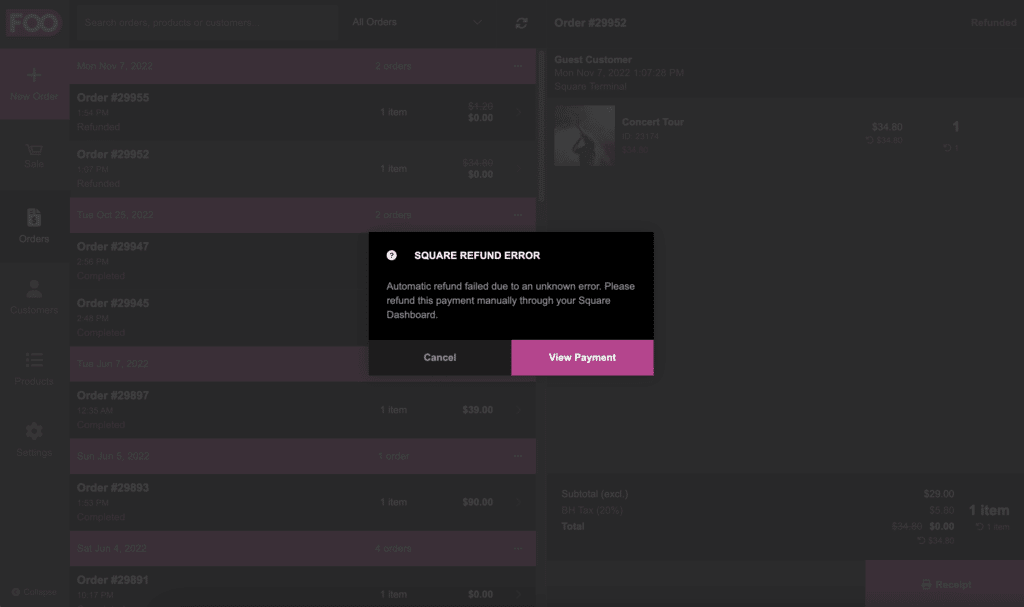
If you entered your Square Access Token in the FooEvents POS plugin settings and you refund an order in the FooEvents POS app, the Square transaction will be automatically refunded to the card that originally made the payment. If the transaction contained split tenders or the refund failed for some unknown reason, the order status is changed to Refunded in WooCommerce and an error message is displayed that allows you to view the transaction and refund the payment manually through your Square account.
Please note: Refunding an order that was originally placed online (ie. not through FooEvents POS) or manually through the WooCommerce back-end will not automatically refund the Square payment. If you would like to refund an order from your WordPress admin area instead of FooEvents POS or if you would like to refund an order in FooEvents POS that was originally placed online, you will need to click on the View transaction link in the order view to open and manually refund the payment through your Square Dashboard and then set the WooCommerce order status to Refunded.
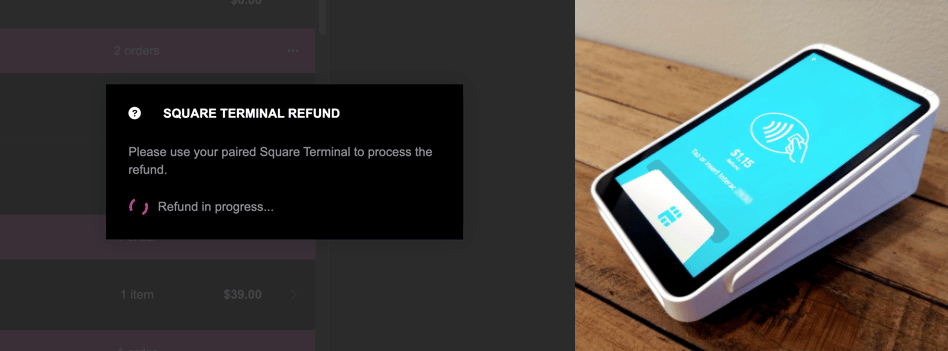
If you originally processed the payment on a paired Square Terminal and the original card needs to be presented, a refund request will be sent to the paired Square Terminal and the FooEvents POS app will wait until the refund is successfully completed.
Please note: Refunding an order manually through WooCommerce will not automatically refund the Square payment. If you would like to refund an order from your WordPress dashboard instead of FooEvents POS, you will need to click on the View transaction link in the order view to open and manually refund the payment through your Stripe Dashboard and then set the WooCommerce order status to Refunded.
