Sections #
Create tickets from the WordPress dashboard

- Go to FooEvents > Tickets in the main menu
- Click on the “Add New” button which you will find under “Tickets”
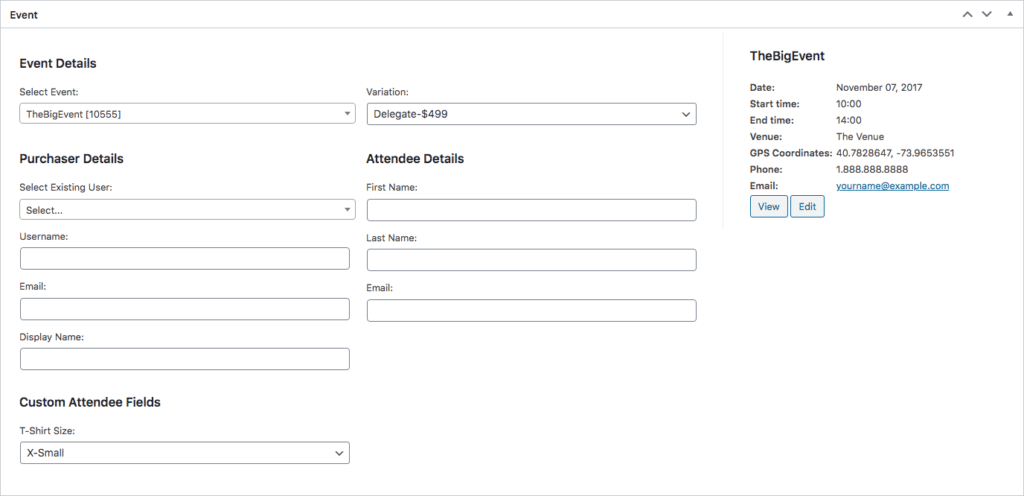
- Select the event name for the specified event
- Fill out the rest of the ticket form and click the “Publish” button to create the new ticket. A corresponding order in WooCommerce will automatically be generated. By default, WooCommerce will send the customer a new order email. However, you can disable this for manually created tickets by going to FooEvents > Settings > General and enabling the Disable completed order email notification option.
- Please Note: Tickets are NOT automatically sent out after creating the ticket. If you would like to email the ticket to the attendee, click on the “Resend” button on the ticket information screen.
Create tickets from your website front-end
- Go to the front-end of your website and book a ticket from your event product similar to how a customer would do it.
- Complete the checkout process by clicking the Place Order button on the Checkout page.
- Once you reach the payment screen (for payment gateways such as PayPal) after the page loads, DO NOT make payment, instead go to the WooCommerce Orders screen and mark the order as Completed. Alternatively, you can apply a 100% discount coupon code when completing the purchase on the Checkout page, so you don’t have to select a payment method.
- Tickets will be sent out using this method depending on your event settings.
Import tickets
Please have a look at the Import Tickets help document for more information.