Once products have been added to the cart, you will need to complete the checkout process so that the customer’s order can be created in your WooCommerce store and tickets generated for event products.
To start the checkout process, click the Checkout button at the bottom right of the screen. The sections displayed in the checkout process will vary according to the type of product contained in the order.
Sections #
Customers

When processing an order at checkout, you can select an existing customer, guest customer or create a new customer. The order will then be associated with this customer and saved in your WooCommerce store. Once a customer has been set, the tax rate that is applied is based on the customer’s billing or shipping location, depending on your WooCommerce Tax Settings.
Find out more about how customers are managed in FooEvents POS and WooCommerce by visiting the Customers section
Attendee Details

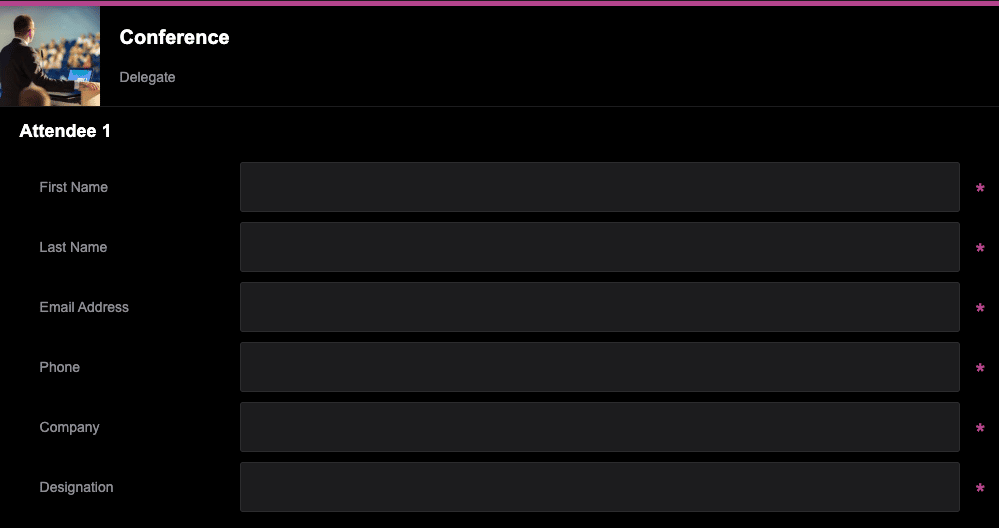
If the order contains an event product which has custom attendee fields, you will see an “Attendee Details” section displayed below the customer.
If the attendee fields are setup as optional, you can click the Add button to capture these details for each attendee, otherwise you may skip this step and you won’t be promoted to enter them before completing the checkout process.
If any of the attendee fields are setup as required, you will be prompted to capture these details for each attendee before you can complete the checkout process.

You can make certain attendee fields optional or completely hide them in the POS Settings product data tab
Certain fields can be renamed in the Event Terminology product data tab
Seating

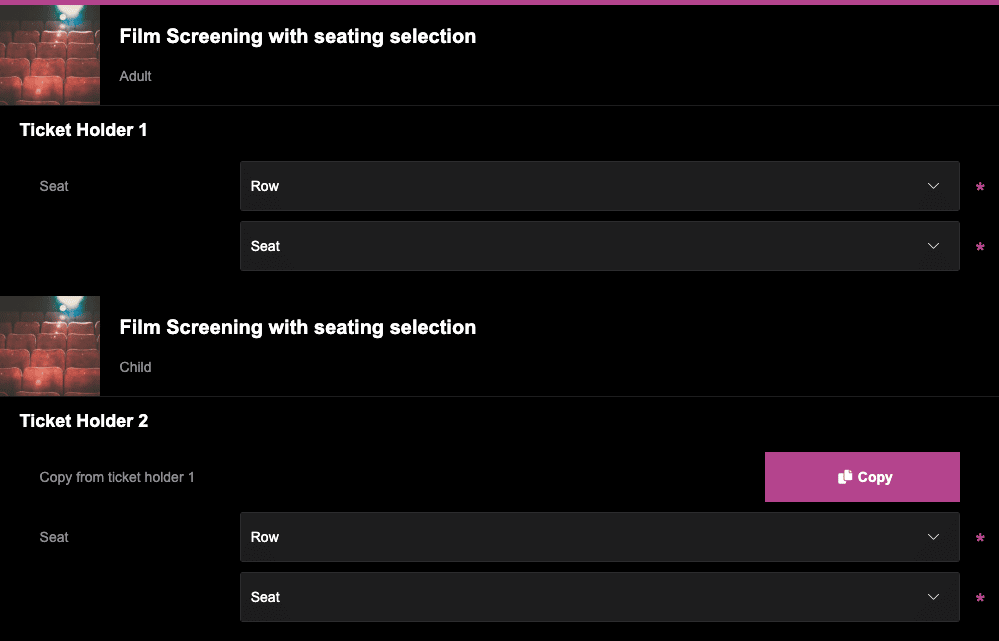
If the order contains a seating event product which allows an attendee to select their seats, you will see an “Attendee Details” section displayed below the customer.
Since seating selection is always required for seating event products, you will be prompted to select the seats for each attendee before you can complete the checkout process.
You can make certain attendee fields optional or completely hide them in the POS Settings product data tab
Certain fields can be renamed in the Event Terminology product data tab
Bookings

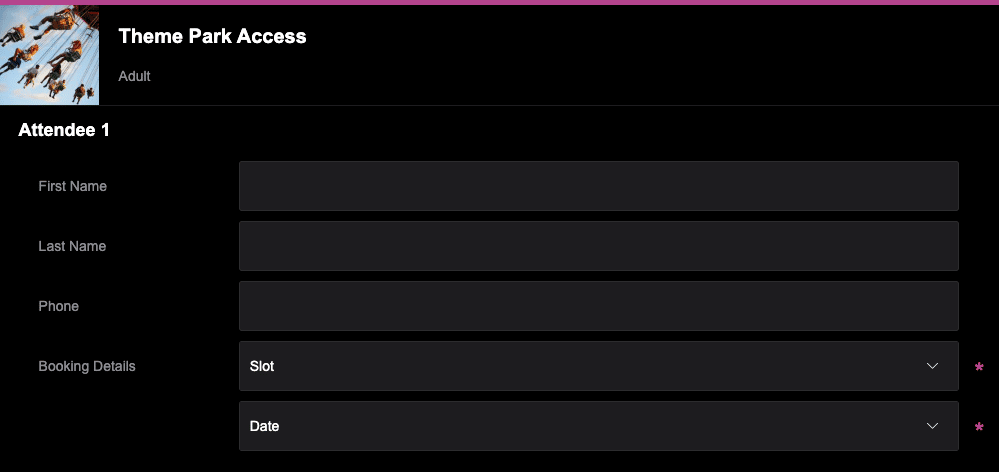
If the order contains a bookable event product which allows an attendee to select a date and slot, you will see an “Attendee Details” section displayed below the customer.
Since booking selection is always required for bookable event products, you will be prompted to select the booking details for each attendee before you can complete the checkout process.
You can make certain attendee fields optional or completely hide them in the POS Settings product data tab
Certain fields can be renamed in the Event Terminology product data tab
Coupons

FooEvents POS integrates with the standard WooCommerce coupons functionality. When completing an order, coupons can be applied to the order which will result in the cart being discounted by the relevant amount.
Coupons are applied to the product price before tax is calculated. To make sure taxes are then calculated correctly due to rounding, WooCommerce needs to split the discount across all items in the cart rather than remove an amount from the total.
Visit the WooCommerce Coupon Management section for detailed instructions on how to create and manage coupons
Payments

When processing an order, you can set the payment type as Cash, Card, Direct Bank Transfer, Check, Cash on Delivery and Other Payment Method or you can create your own custom payment methods. FooEvents POS also offers direct integrations with Square and Stripe to process card payments automatically. If you don’t use Square or Stripe, card payments can be manually processed using any third-party card reader of your choice and set to Card Payment at checkout. The payment type will be added as meta to the order which can be viewed for each order within the FooEvents POS app and on your web store.
Learn more about how Payments are managed in FooEvents POS
Order Note

Using the order note field you can add additional information to the order such as instructions, product details or a thank-you message. Order notes can be kept private or shared with the customer by selecting the ‘Send note to customer‘ option.
Order Completion
![]()
Once all the required details for the order have been captured, you will be able to finalize the order by clicking the Complete button.

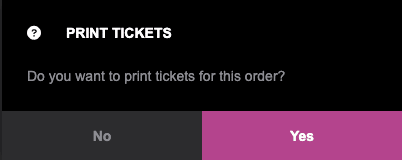
You will then be prompted to print Tickets and Receipts once the order has successfully completed (unless configured not to do so in settings).
Visit the Orders section for a detailed overview of the order generation workflow