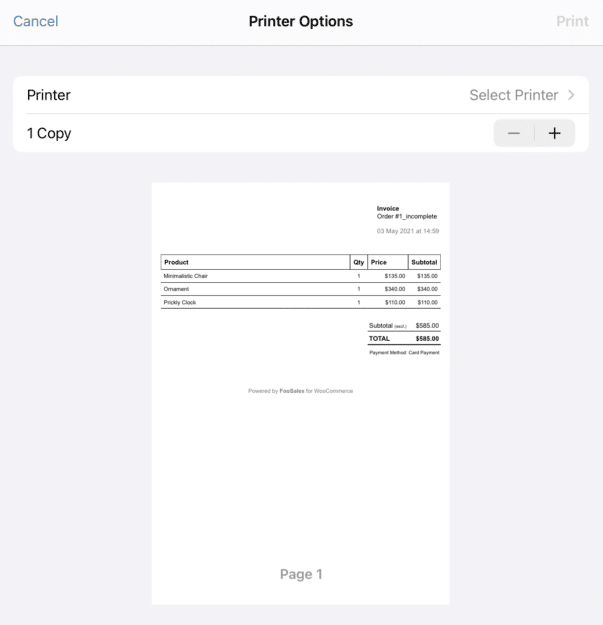
Once the Checkout process for each order is complete, you will be able to print receipts and tickets (event products only). FooEvents POS uses the browser’s standard print dialog to print receipts and tickets.
Sections #
- Printing Invoices/Receipts
- Printing Tickets
- Printing Saved Orders
- Customizing the Store Logo
- Modify Receipt Terminology
Printing Invoices/Receipts
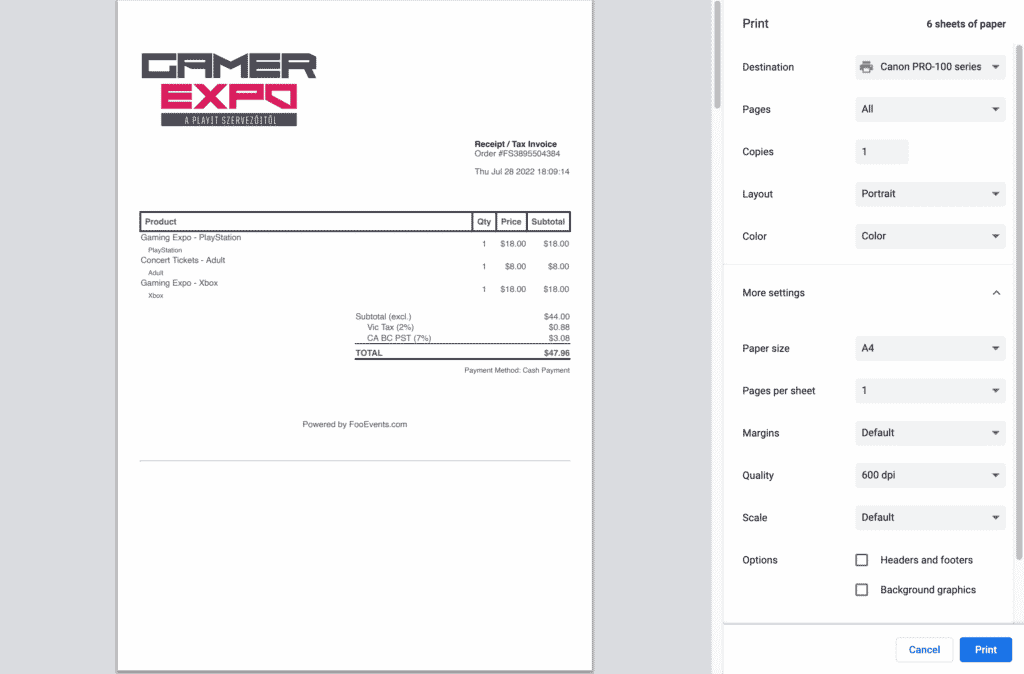
FooEvents POS uses the browser’s standard print dialog to print invoices/receipts and tickets. You can therefore use any printer that can be connected to your computer. The receipt template as well as ticket templates are responsive to the width of the selected paper source, so they should fit on most standard paper sizes for desktop printers as well as thermal receipt printers.  If you have a thermal receipt printer, here are the steps for configuring and printing your receipts:
- Choose your receipt printer
- Print all pages
- Select portrait layout
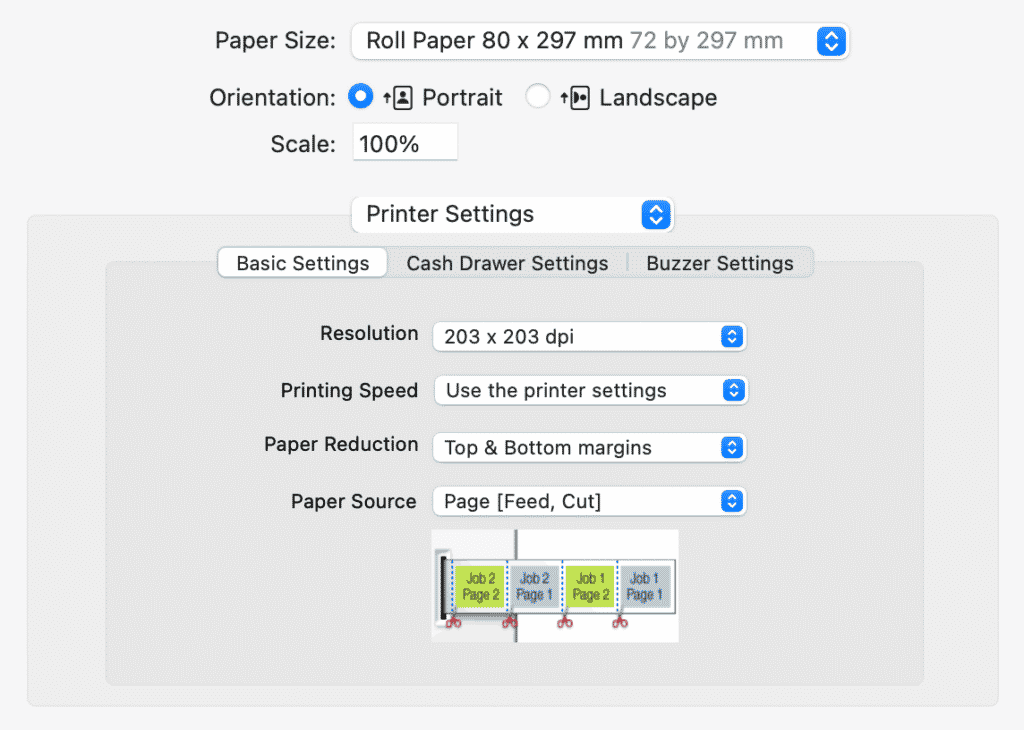
- Choose the width of your receipt paper
- The paper length can be the longest option available as the printer will continue printing until it reaches the bottom of the receipt and then automatically cut the paper
- Set the number of pages per sheet to ‘1’
- Disable headers and footers
- Google Chrome – with margin set to ‘default’ it will show the checkbox
- Mozilla Firefox – Set the header and footer options to ‘blank’
- Apple Safari – Uncheck the header and footer checkbox
- Margins must be set to ‘none’
- Scale should be set to ‘default’ or 100%


Printing Tickets
If you print a receipt for an order that contains one or more events, you can also print the order’s tickets by enabling this option on the Settings screen.  When printing using a thermal receipt printer, you can set your printer settings to cut the paper after the receipt as well as each ticket.
Star Thermal Printers #
For Star Micronics thermal receipt printers, you can follow their documentation on how to force a cut after each page break.
EPSON Thermal Printers #
Using the system print dialog, you can adjust various printer settings such as when to perform a cut. Adjusting the paper source setting to feed and cut after each page will perform a cut after the receipt and any subsequent tickets.  Please note that this option is only available when printing using the system print dialog and not the simplified print dialog that the browser uses. The simplified browser print dialog will print the receipt and all following tickets before performing a cut.
Printing Saved Orders
Saved orders can be accessed via the Orders screen and printed before the order is completed. This makes it possible to provide your customers with a printable quote or bill for their order before they pay for example.

Customizing the Store Logo for Receipts
You can choose your own custom logo that will be printed on invoices/receipts. We recommend using a high-contrast, black and white logo for best results.
- Login to your WordPress dashboard
- Go to FooEvents POS > Settings > Receipts
- Click the Select logo button next to the Store logo box to upload and/or insert the path to the image
- Click Save changes
Modify Receipt Terminology
Login to your WordPress dashboard and click on FooEvents POS > Settings in the sidebar menu. You can change the wording and/or translate the following text in your printed receipts and invoices at present:
- Store name
- Header content
- Receipt title
- Order number prefix
- Product column title
- Quantity column title
- Price column title
- Subtotal column title
- “Inclusive” abbreviation
- “Exclusive” abbreviation
- Discounts title
- Refunds title
- Tax title
- Total title
- Payment Method title
- Billing Address title
- Shipping Address title
- Footer content